While do-it-yourself projects can be fun and fulfilling, there is always a potential for personal injury or property damage. We strongly suggest that any project beyond your abilities be left to licensed professionals such as electricians, plumbers, and carpenters. Any action you take upon the information on this website is strictly at your own risk, and we assume no responsibility or liability for the contents of this article.
How to Stain Wood Like the Pros
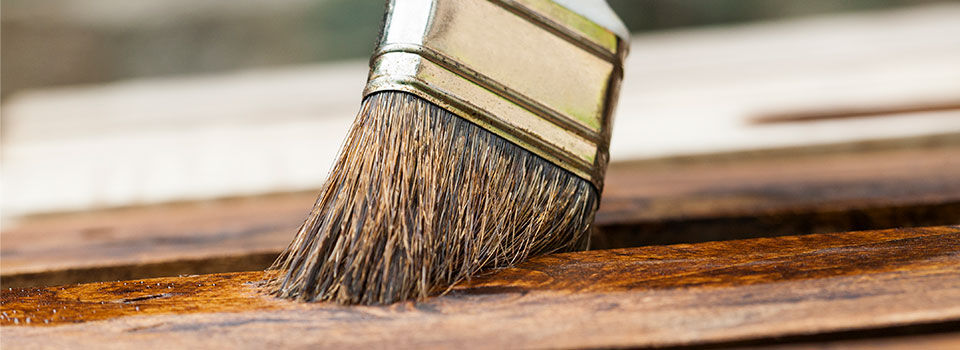
Staining is a unique option for finishing wood because it can add color and luster without completely hiding the grain of the wood. Unlike painting, staining tends to highlight the natural beauty of wood furniture or trim rather than disguise it. However, this also makes stain a little trickier to apply evenly. Newcomers to the practice of staining wood are often dismayed at their first attempts. Don’t give up if your first few staining projects don’t match your expectations. Practice and learning the right techniques are the two keys to becoming a DIY expert at wood staining.
Set Aside Test Pieces
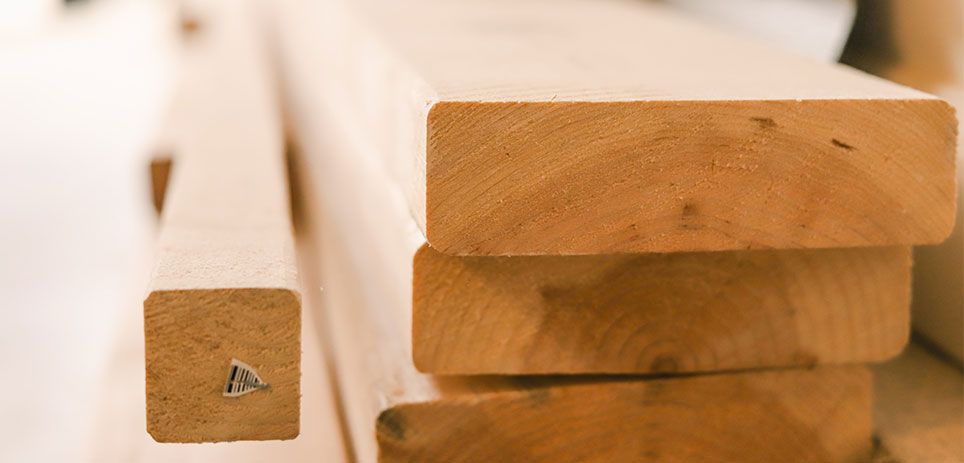
When purchasing wood for the project, set aside a few extra boards or pieces of trim to test first. For wood furniture, the underside of a shelf or leg is often the only option for testing the stain. Without testing, it’s hard to pin down exactly how much sealant or how many coats to apply. Test pieces must be made of the same wood from the same supplier and batch to accurately represent how the flooring or cabinets will look when they’re done.
Sand Thoroughly
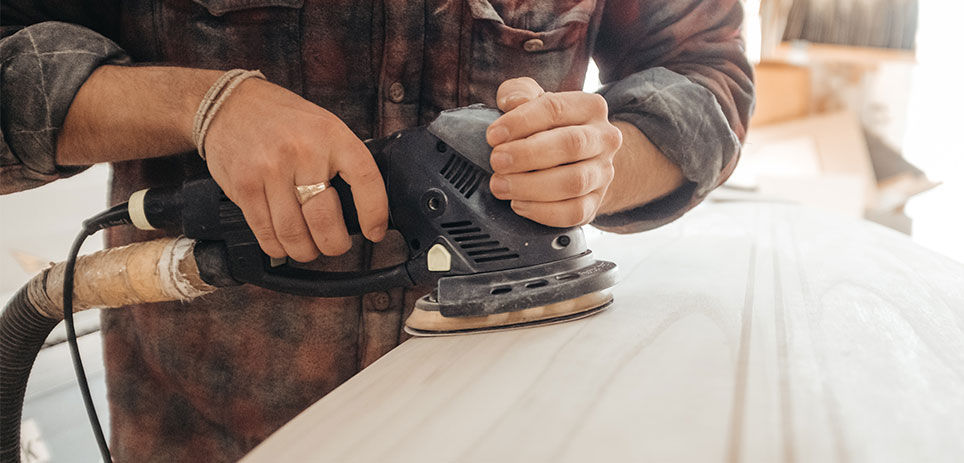
Getting the wood to the smoothest possible finish is the key to even stain application. Every slighter rougher patch of wood will absorb more stain, resulting in a dark and noticeable blotch. Spending the majority of the project time on sanding will pay off in a nearly glass-smooth surface that takes the pigment evenly. Start by filling in all cracks and holes with a stainable wood filler. Once it dries and cures, it’s time to start sanding. Begin with 80 to 120 grit sandpaper and try to cover the surface evenly. Move up to 180 grit paper, then finish with 220 grit paper over the whole surface you plan to stain. Leaving some roughness behind can add a weathered or vintage look, so consider doing a little less sanding in corners or along edges where you’d like more pigment to accumulate. Wipe the wood with a slightly damp and clean lint-free rag after sanding to ensure there’s no dust left to clog up the surface.
Apply a Pre-Stain Sealant
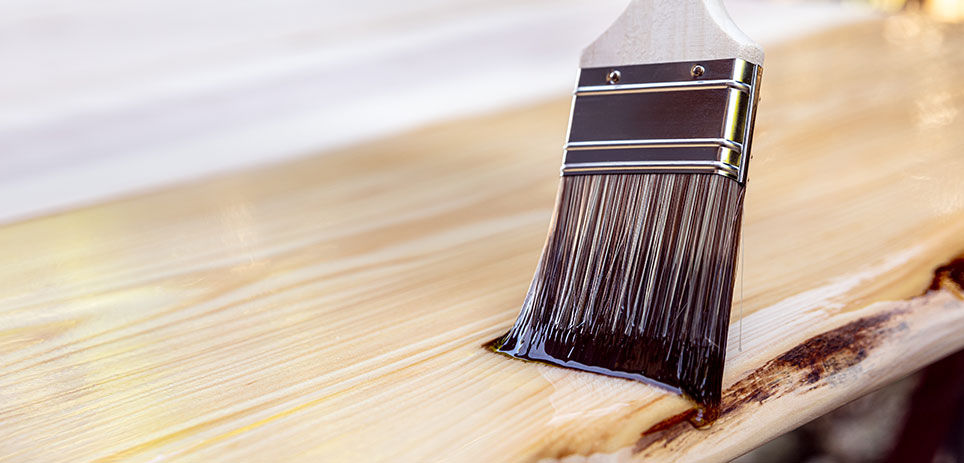
The smoothest application and the best results come from wood that’s coated with sealant before staining. While it’s possible and sometimes necessary to stain unsealed wood, it’s usually better to seal the wood first. Make a test by marking off three sections on a test piece of wood. Apply a stainable wood sealant full-strength to one section, then water down the sealant by half for the second section. Leave the third sanded second unsealed to see if you prefer that look. Make sure the sealant is from the same manufacturer as the stain to ensure compatibility and good results.
Test Different Configurations
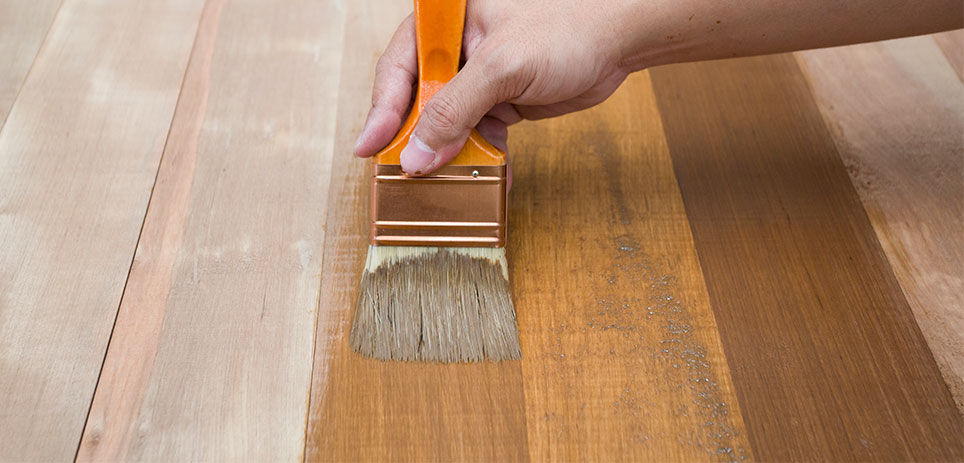
Aside from testing the amount of sealant used on the wood to encourage a smooth and even application, it’s smart to set up a second test piece for coating. One coat may be enough for the color and finish you want, or you may need up to three coatings. Again, separate a sanded board into three sections. Apply the sealant concentration you selected in the last stage, then dab varying numbers of coats of the stain onto the wood. If the three coat section still isn’t dark or intense enough for you, move to a darker pigment color rather than trying to add more of the same stain.
Apply the Stain and Finish the Edges
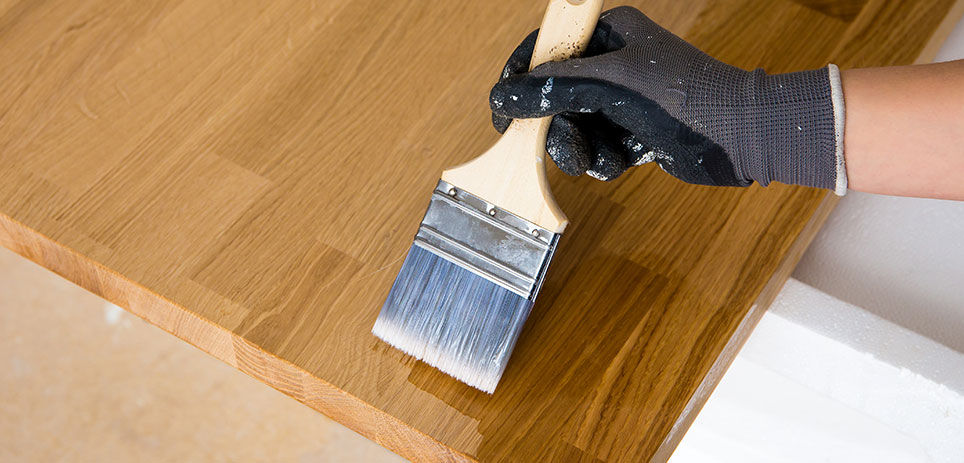
Once the decisions on the sealant concentration and number of coats of stain are finished, all that’s left is application. As with the sealant, brush on a generous amount of the stain, whether it’s oil or water-based. Then gently rub the excess off the surface a few minutes later with a clean lint-free painter’s rag. Use a buffing motion as you rub the stain off of the surface to get an even and blotch-free distribution.
Always Seal Pine
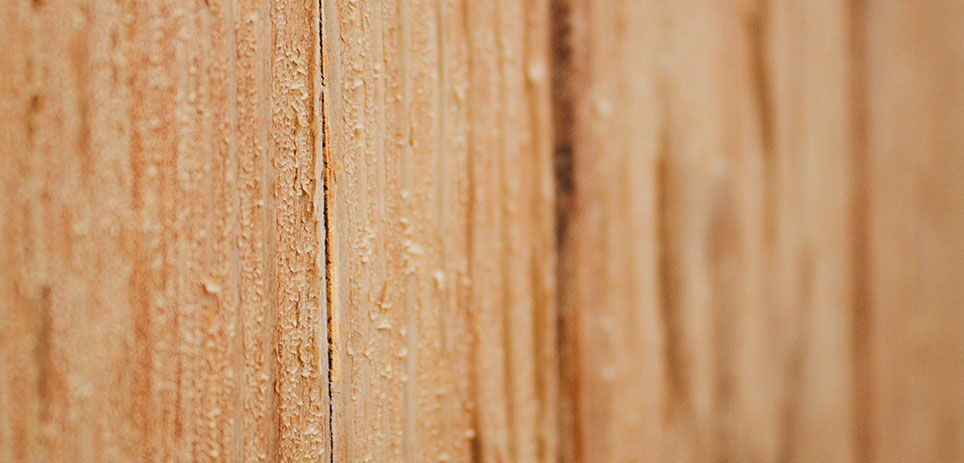
Pine, in particular, always looks better when sealed before staining. This wood is hard to get perfectly smooth because the fibers tend to become fuzzy and stand up across the surface. No amount of sanding can get pine furniture or flooring smooth enough for a perfectly even stain. This means that dark lines tend to appear in this material. Using a pre-stain sealant is the key to an even and light color across the entire pine surface.
Finishing with the Final Sealant
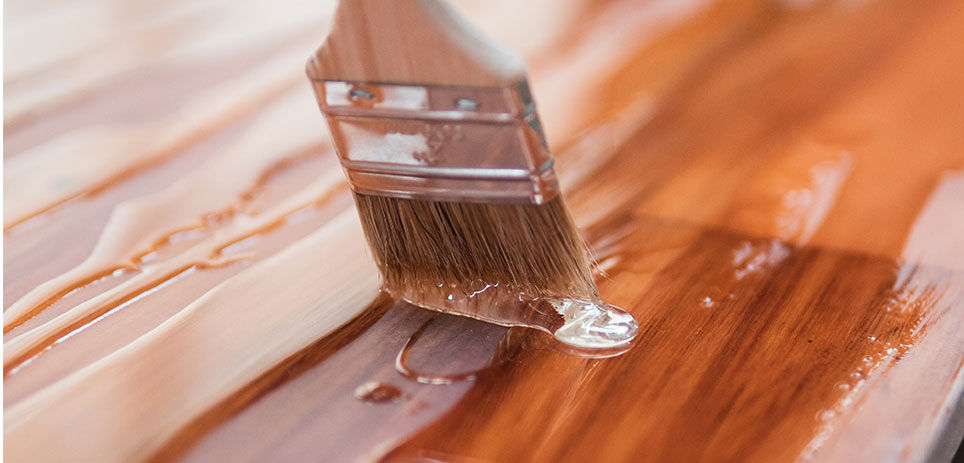
The stain itself is a protective coating for the wood, but it retains its color best when then protected with a final sealant coating. Look for any sealant that’s compatible with stained wood. Outdoor furniture and decorations will need a different sealant than indoor items, so make sure to choose a final sealant based on the final use.
Staining wood is a skill that gets easier with experience and practice. Try picking up some inexpensive raw boards in different materials and practicing long before trying a whole floor or a valuable piece of furniture. You can always use the boards that turn out well for small home projects like shelving and side tables.